Quick answer
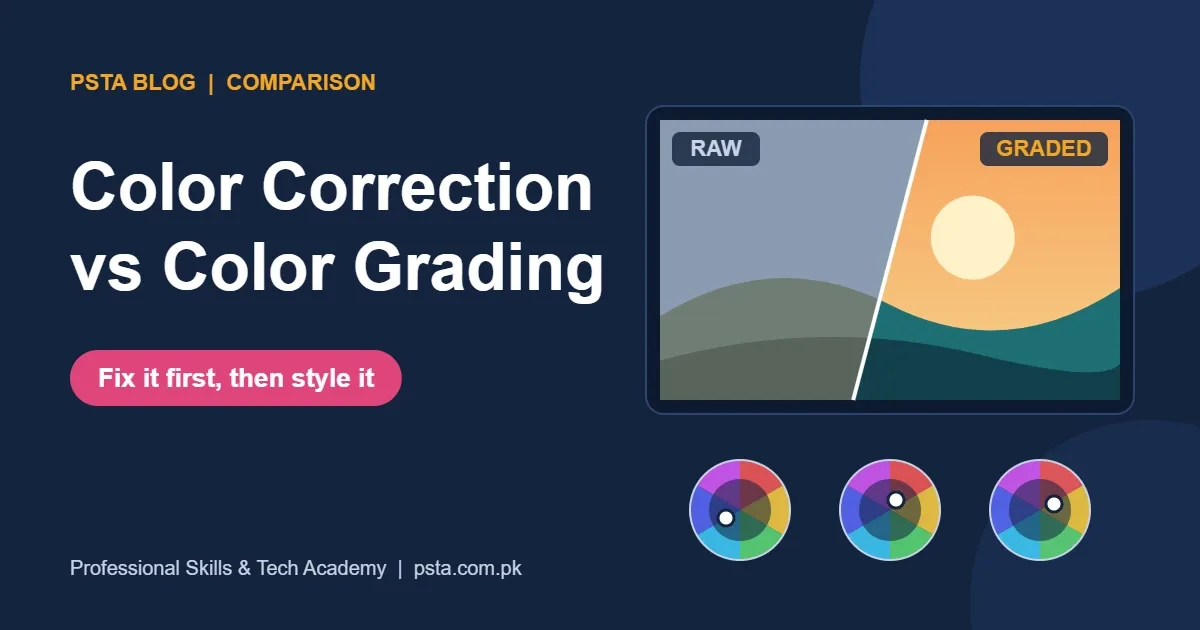
Color correction is the technical stage: fix exposure, contrast and white balance, then match shots so every clip looks accurate and consistent. Color grading comes after and is creative: you add a mood with color wheels, curves or a LUT. Correct first, judge with scopes, and keep SDR projects in Rec.709.
Key takeaways
- • Correction makes footage accurate; grading gives it a mood.
- • Correct every clip before you build a look, or the look will shift from shot to shot.
- • Use the waveform for brightness, the parade for balance and the vectorscope for skin.
- • Keep corrections and the look on separate nodes or adjustment layers.
- • The free DaVinci Resolve handles footage up to Ultra HD, while Studio lists at $295.
- • YouTube recommends BT.709 as the color space for SDR uploads.
Table of contents 15 sections
- What Is Color Correction?
- What Is Color Grading?
- Color Correction vs Color Grading: Side-by-Side
- Why Does the Order Matter?
- The Beginner Workflow, Step by Step
- Color Correction in Premiere Pro With Lumetri Color
- DaVinci Resolve Color Grading for Beginners
- Which Scopes Should You Learn First?
- Waveform
- Parade
- Vectorscope
- Free vs Paid Tools: What Each Stage Really Needs
- Common Beginner Errors at Each Stage
- Practicing Color Work in PSTA's Video Editing Course
- Try This on Your Next Edit
Color correction vs color grading comes down to purpose. Correction makes your footage look accurate and consistent, while grading gives it a mood. You can practice both for free, because Blackmagic says the free version of DaVinci Resolve works at resolutions up to Ultra HD 3840 x 2160, which is enough for most YouTube, reel and wedding projects.
Here is what you will find below:
- A plain definition of each stage and where one ends and the other begins
- A side-by-side table you can keep open while you edit
- The order professional colorists follow, step by step
- How to read the waveform, parade and vectorscope without guesswork
- Which free and paid tools handle each stage, with current prices
What Is Color Correction?
Color correction is the technical repair stage. Your goal is footage that looks the way the scene looked to your eye. White should read as white, skin should look healthy, and the brightest and darkest parts of the frame should hold detail.
Blackmagic's Colorist Guide to DaVinci Resolve 20 describes this stage with three words: normalization, balancing and shot matching. In practice that means four jobs:
- Exposure: lift a dark clip or pull down a bright one.
- Contrast: set clean blacks and clean whites.
- White balance: remove the orange cast from tube lights or the blue cast from shade.
- Consistency: make clip 4 look like clip 3 so cuts don't jump.
Think of a wedding videographer in Abbottabad filming a mehndi under warm bulbs and then stepping outside for portraits in daylight. Without correction, the same bride looks orange in one shot and grey-blue in the next. Correction fixes that before anyone thinks about style.
What Is Color Grading?
Color grading is the creative stage. Once the footage is neutral, you choose how the video should feel. A food brand in Lahore may want warm, rich tones. A tech review channel may want cool, crisp blacks. A short film may want muted greens to suggest tension.
The Colorist Guide says creative grading starts after correction gives you a neutral starting point, and that your choices should serve the emotional and story meaning of the scene. That's the key test. A grade is a decision you can explain, not a filter you liked on Instagram.
Typical grading work includes:
- Pushing shadows toward teal and highlights toward warm for a filmic split
- Lowering saturation for a serious documentary tone
- Adding a soft vignette to pull attention to the speaker
- Applying a creative LUT, then dialing its strength down
Color Correction vs Color Grading: Side-by-Side
The table below compares the two stages on the points that matter when you're editing a real project.
| Point | Color Correction | Color Grading |
|---|---|---|
| Main goal | Accurate, consistent images | A mood or visual style |
| Question it answers | Does this look right? | How should this feel? |
| When it happens | First, on every clip | After correction is done |
| Typical tools | Exposure, contrast, white balance, shot match | Color wheels, curves, LUTs, vignettes, windows |
| How you judge it | Mostly with scopes | Scopes plus your eye and the brief |
| Can a client skip it? | Rarely, since errors look like mistakes | Sometimes, for quick social clips |
| Who decides | The footage and the scene's real light | The director, brand or editor |
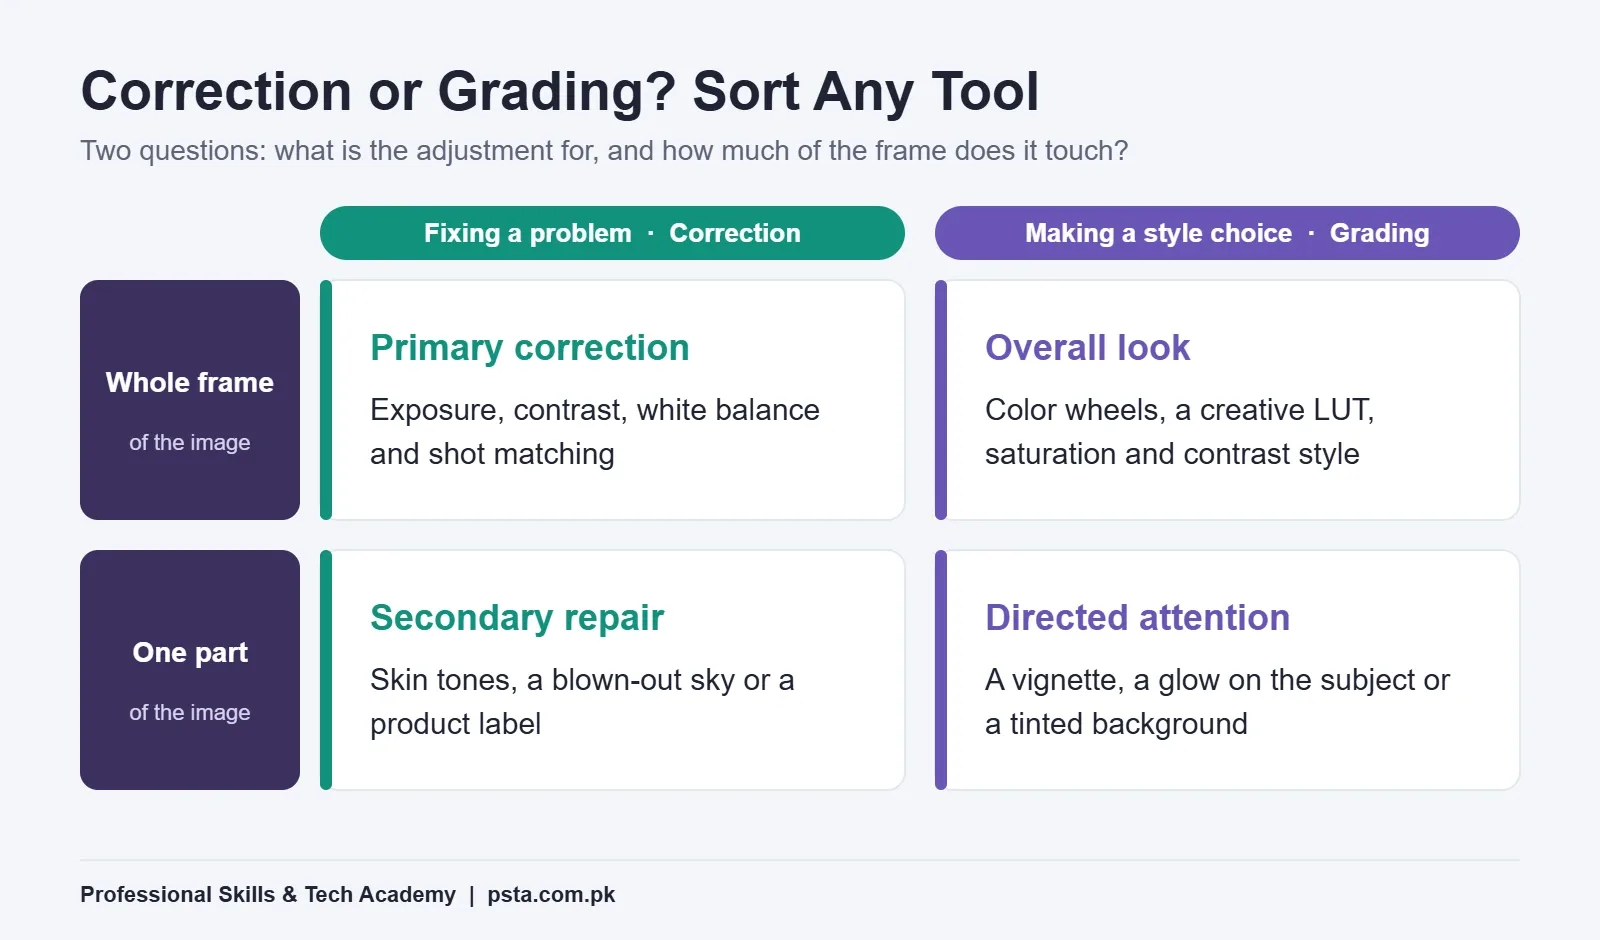
A useful way to sort any adjustment is to ask two questions. Is it fixing a problem or making a style choice? And does it affect the whole frame or only one part? The matrix below places common tools on those two axes.
Why Does the Order Matter?
If there is one rule in color correction vs color grading that colorists agree on, it is order. Grading uncorrected footage is like painting over a damp wall. A look built on a clip with a green cast will push that green into every color you add. When you then cut to a shot without the cast, your carefully built look suddenly changes.
Correcting first gives every clip the same neutral base. A single grade then behaves the same way across the whole timeline, so you can copy it from shot to shot. The Colorist Guide also notes that its order isn't rigid. Some workflows start with color management or a creative LUT before primary corrections. As a beginner, though, correction first is the safer habit, because you can see each fix clearly.
The Beginner Workflow, Step by Step
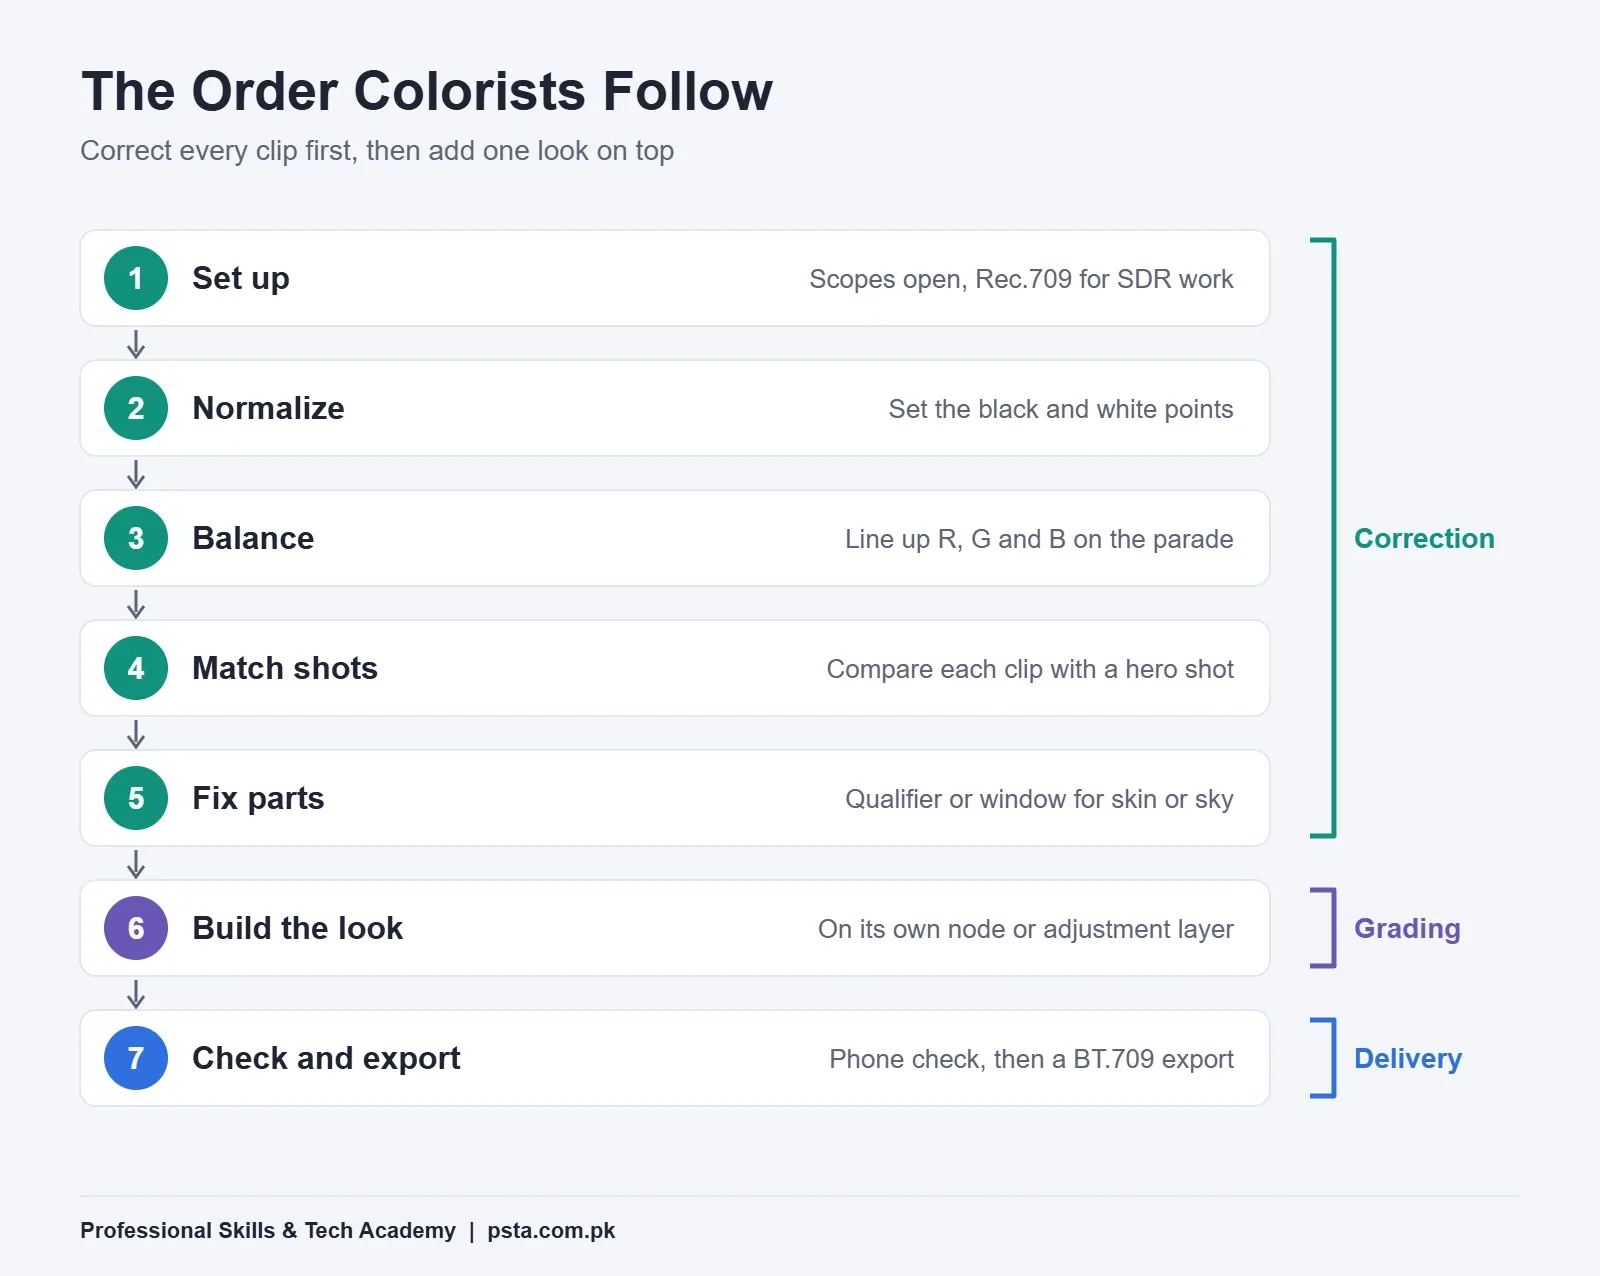
This is the sequence I'd ask you to follow on your first ten projects. Steps 1 to 5 are correction, including the repair of single areas. Step 6 is grading. Step 7 protects your work on upload.
- Set up. Open your scopes and confirm the project is set for SDR output. YouTube's upload encoding settings recommend BT.709, also called Rec.709, as the standard color space for SDR uploads.
- Normalize. Set the black and white points so shadows sit just above the bottom of the waveform and highlights stay below the top.
- Balance. Neutralize the color cast. Pick a white or grey object and line up the red, green and blue channels on the parade.
- Match shots. Compare each clip with a hero shot from the same scene and nudge it to match.
- Fix parts of the frame. Use a qualifier or a window to repair a sky, a face or a product label.
- Build the look. Add your creative grade on its own layer or node, then save it so you can reuse it.
- Check and export. Watch the full timeline once on a second screen or a phone, then export.
In DaVinci Resolve, the Colorist Guide recommends keeping balancing and shot matching on separate serial nodes, and labeling each node. In practice, a beginner node tree might read: Exposure, Balance, Match, Skin, Look. If the client later asks for a warmer look, you change one node and leave the corrections alone.
In Premiere Pro, you get the same separation with adjustment layers. Put corrections on each clip, then place one adjustment layer above the timeline for the look.
Color Correction in Premiere Pro With Lumetri Color
Premiere Pro handles both stages in the Lumetri Color panel inside the Color workspace. Adobe's Lumetri tutorial walks through the sections in a sensible order:
- Basic Correction for brightness and to remove or add a color cast
- Look presets as an optional starting point for a style
- Creative controls such as Faded Film, Sharpen, Vibrance and Saturation
- Color Wheels to tint shadows, midtones and highlights separately
Notice how that order follows the same logic: Basic Correction is your correction stage, and Creative plus Color Wheels are mostly grading. Adobe also suggests toggling a section's checkbox to compare your change against the original. Use that habit often. Your eye adapts to a color cast within seconds, and a quick before-and-after resets it.
For skin, Adobe's skin tone tutorial pairs the Vectorscope YUV with the Parade RGB, and uses the WB Selector eyedropper on something white to set Temperature and Tint. It also notes that the skin tone line on the vectorscope applies to people of every skin color. That makes it a reliable reference whether you're editing a Peshawar food vlog or a corporate interview in Islamabad.
DaVinci Resolve Color Grading for Beginners
Resolve has a full page devoted to color, which Blackmagic describes as Hollywood's most advanced color corrector. Instead of stacking effects, you build a chain of nodes, each holding one adjustment. That feels strange for the first week and then becomes the clearest way to work.
A few points worth knowing before you start:
- Current version: Blackmagic's DaVinci Resolve page lists DaVinci Resolve 21. According to SVG's NAB 2026 report, version 21 added a Photo page and the option to view node graphs as a layer list.
- Free limits: the free version handles virtually all 8-bit formats at up to 60fps. Studio adds 10-bit video up to 120fps, resolutions beyond 4K, AI noise reduction and the Neural Engine features.
- Shot Match: Resolve can match one clip to another automatically, but the Colorist Guide advises checking the result by eye, because the software can't account for differences in the scene itself.
- Free training: Blackmagic publishes the Colorist Guide as a free PDF, so you can practice with a structured course at no cost.
Which Scopes Should You Learn First?
Monitors lie. A cheap laptop panel may show more blue than your client's phone. Video scopes measure the image itself, so they give the same answer on any screen. Start with three:
Waveform
The Colorist Guide describes the waveform as a display of the luminance and color channel values at the playhead. Bottom is black, top is white, and left to right follows the frame. A flat line pressed against the top means blown highlights.
Parade
The parade splits red, green and blue into three side-by-side graphs. When a white wall or grey shirt shows three channels at the same height, your balance is correct.
Vectorscope
The vectorscope shows hue as an angle and saturation as distance from the center. A trace that leans hard toward one color tells you there's a cast. Skin should sit near the skin tone line.
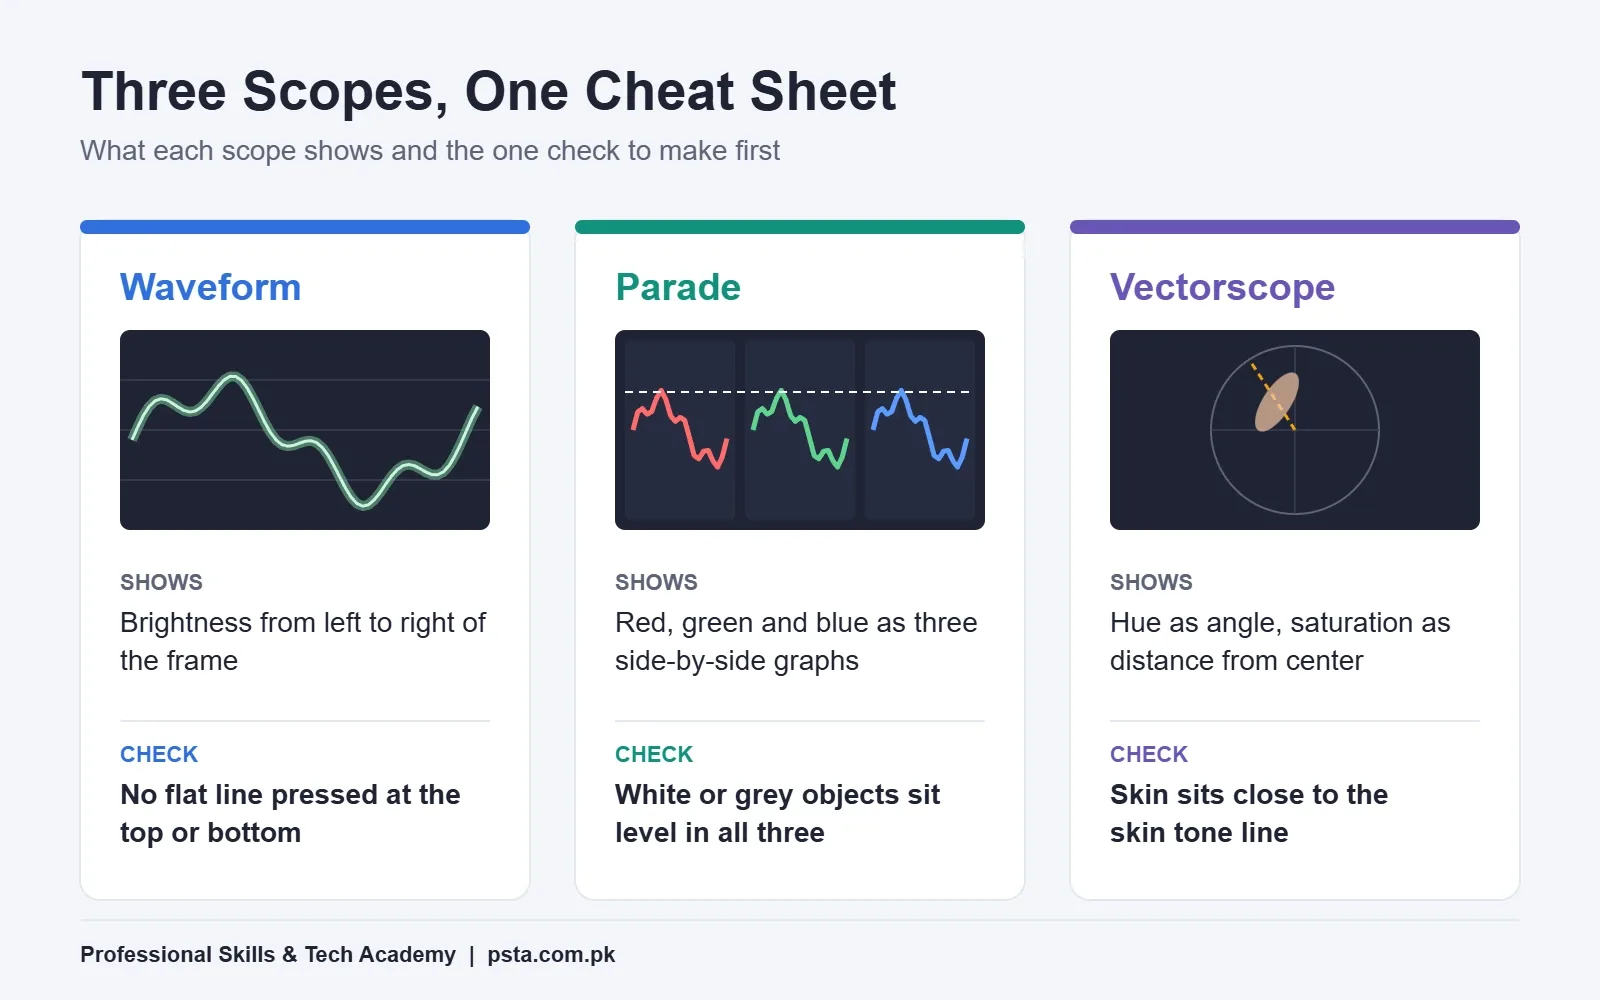
Learn these three in that order. You'll spend most correction time on the waveform and parade, and most skin and grading checks on the vectorscope.
Free vs Paid Tools: What Each Stage Really Needs
You don't need expensive software to learn either stage. The table shows current options, with prices taken from each vendor's own page in November 2026.
| Tool | Price | Good for | Limit to know |
|---|---|---|---|
| DaVinci Resolve (free) | Free | Learning both stages properly | 8-bit, up to 60fps, up to Ultra HD |
| DaVinci Resolve Studio | $295 list (shown at $236 on Blackmagic's page) | 10-bit camera footage, noise reduction | One-time cost |
| Premiere Pro | $22.99 a month, annual plan billed monthly | Agency and client work that uses Adobe files | Subscription |
| Creative Cloud Pro, student rate | $19.99 a month for the first year | Students who need Premiere plus other Adobe apps | Regular price is higher after year one |
Adobe prices are from the Premiere plans page for the US. Prices shown in Pakistan may differ, and card payments in dollars can attract bank and tax charges, so check your final bill before you subscribe.
If you're unsure which editor to commit to, our Premiere Pro vs DaVinci Resolve comparison covers that decision in depth.
Common Beginner Errors at Each Stage
Most weak color work, on either side of color correction vs color grading, traces back to a short list of habits. Watch for these in your own projects:
- Grading before correcting: the look changes from shot to shot because each base is different.
- Trusting a LUT at full strength: camera LUTs expect specific footage. Reduce the intensity or the opacity until it fits.
- Chasing saturation: boosted colors look exciting at first, then skin turns orange and reds bleed.
- Ignoring the export: a grade checked in one color space can shift after upload. Keep SDR projects in Rec.709 from start to finish.
- Judging on one screen: check on a phone too, because many clients will review your work there.
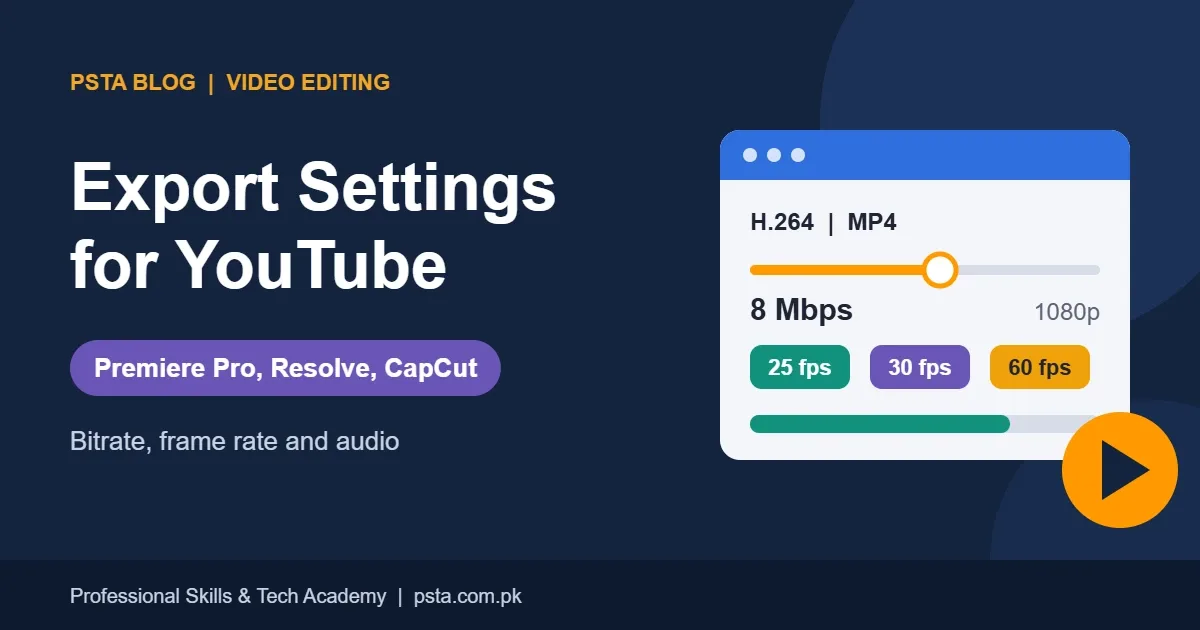
Our guide to export settings for YouTube covers the final step in more detail.
Practicing Color Work in PSTA's Video Editing Course
Color gets a full module in our video editing and VFX course. The module is called Professional Color Correction and Cinematic Color Grading, and you practice it in Adobe Premiere Pro alongside editing, sound and After Effects work.
- Length and level: 12 weeks, beginner level
- Fee: Rs. 22,000 (Rs. 25,000 is the usual rate), and you can pay it in 2 parts
- Color project: a short film scene where every shot must match and carry one mood
- How you attend: in person at our Abbottabad campus near FIMS College, live online from any city, or hybrid
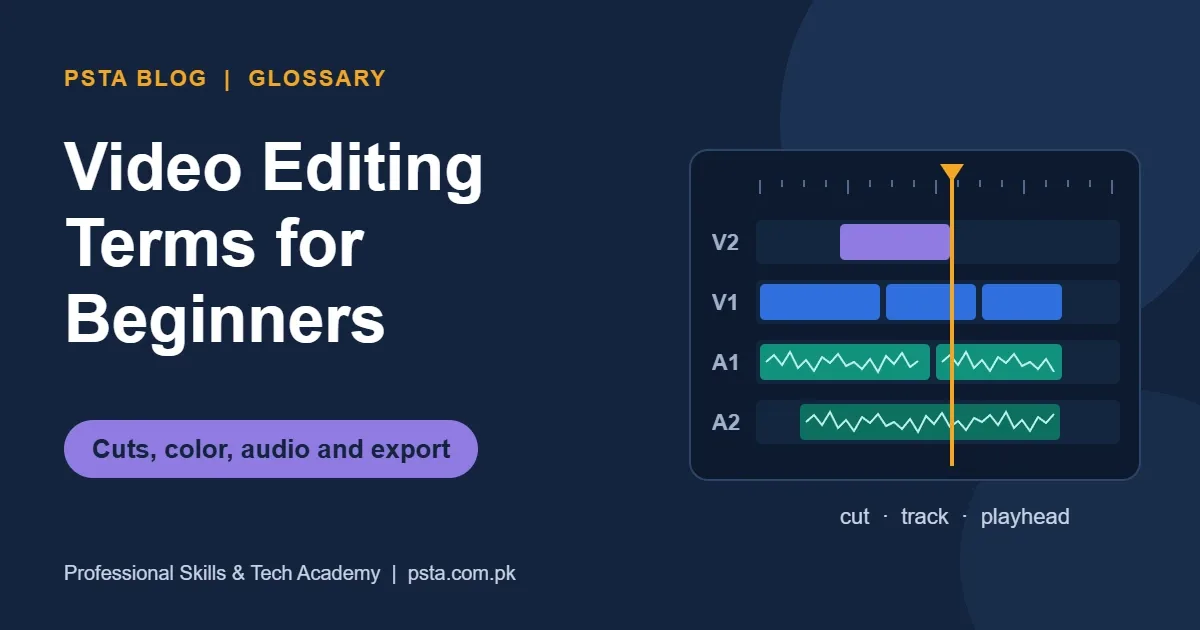
Design skills sit naturally next to editing, since thumbnails and graded frames often come from the same person. The Graphic Designing course pairs well, and our glossary of video editing terms is useful revision. The full list of programs sits on our courses page, and when you're ready, the admission form is online. Questions about batch timings can go to WhatsApp at +92 314 5424399.
Try This on Your Next Edit
Pick any three clips you shot on your phone in different light. Correct them first, using only the waveform and parade, until they match. Then add one grade on a separate layer or node and apply it to all three. If the look holds across every clip, you've understood color correction vs color grading in the way that counts.
Frequently asked questions
Is color grading the same as color correction?
No. Color correction is the technical stage that makes footage accurate: correct exposure, clean contrast, neutral white balance and clips that match each other. Color grading is the creative stage that follows, where you give the video a mood or style. Many editors say "grading" for both, but separating them in your workflow keeps your look consistent across every shot.
Should I color correct or color grade first?
Correct first. A look built on uncorrected footage carries each clip's color cast into the grade, so the style shifts every time you cut to a new shot. Once every clip is balanced and matched, one grade behaves the same way across the timeline. Blackmagic's Colorist Guide notes some pro workflows vary the order, but correction first is the safest habit for beginners.
Can I learn color grading with the free DaVinci Resolve?
Yes. Blackmagic says the free version of DaVinci Resolve works at resolutions up to Ultra HD 3840 x 2160 and handles nearly all 8-bit formats at up to 60fps. That is plenty for practice and for most client edits. You would need Studio for 10-bit footage, frame rates above 60fps, resolutions beyond 4K, or features such as AI noise reduction.
Do I need a LUT to color grade my videos?
No. A LUT is a shortcut, not a requirement. You can build a full grade with color wheels, curves and saturation controls. If you do use a creative LUT, apply it only after your footage is corrected and reduce its strength until skin still looks natural. Camera conversion LUTs are a separate tool meant for specific log footage.
Which color space should I export in for YouTube?
For standard SDR videos, YouTube's upload encoding guidance recommends BT.709, also called Rec.709. Set your timeline for Rec.709 from the start, grade in it, and export in it. Mixing color spaces between grading and export is a common reason videos look washed out or too contrasty after upload.
Can I do proper color correction in Premiere Pro without plugins?
Yes. The Lumetri Color panel covers both stages. Basic Correction handles brightness and color casts, the Color Wheels tint shadows, midtones and highlights, and the Lumetri Scopes panel gives you a waveform, RGB parade and vectorscope. For most YouTube, wedding and corporate work, Lumetri plus a good eye for scopes is enough.
What is the skin tone line on a vectorscope?
It is a reference line on the vectorscope where skin tones naturally fall, running toward the area between the red and yellow targets. Adobe notes the line applies to people of every skin color, which makes it a dependable check on any shoot. If the skin in your shot sits well away from the line, you probably have a color cast to correct before grading.
Sources & references
- Colorist Guide to DaVinci Resolve 20 (Blackmagic Design) documents.blackmagicdesign.com
- DaVinci Resolve 21 product page (Blackmagic Design) blackmagicdesign.com
- How to correct color in your videos (Adobe) adobe.com
- How to correct skin tones (Adobe) adobe.com
- Premiere plans and pricing (Adobe) adobe.com
- YouTube recommended upload encoding settings (YouTube Help) support.google.com
- NAB 2026: Blackmagic Design announces DaVinci Resolve 21 (SVG) sportsvideo.org
Last reviewed & updated on by Umar Qureshi. Written by the PSTA team in Abbottabad, Pakistan.

Umar Qureshi

Mastering Video Editing & Visual Effects (VFX)
Turn this guide into a career: hands-on training with real projects, online across Pakistan or on-campus in Abbottabad · 12 Weeks.

Comments
No comments yet — ask a question or share your experience.