Quick answer
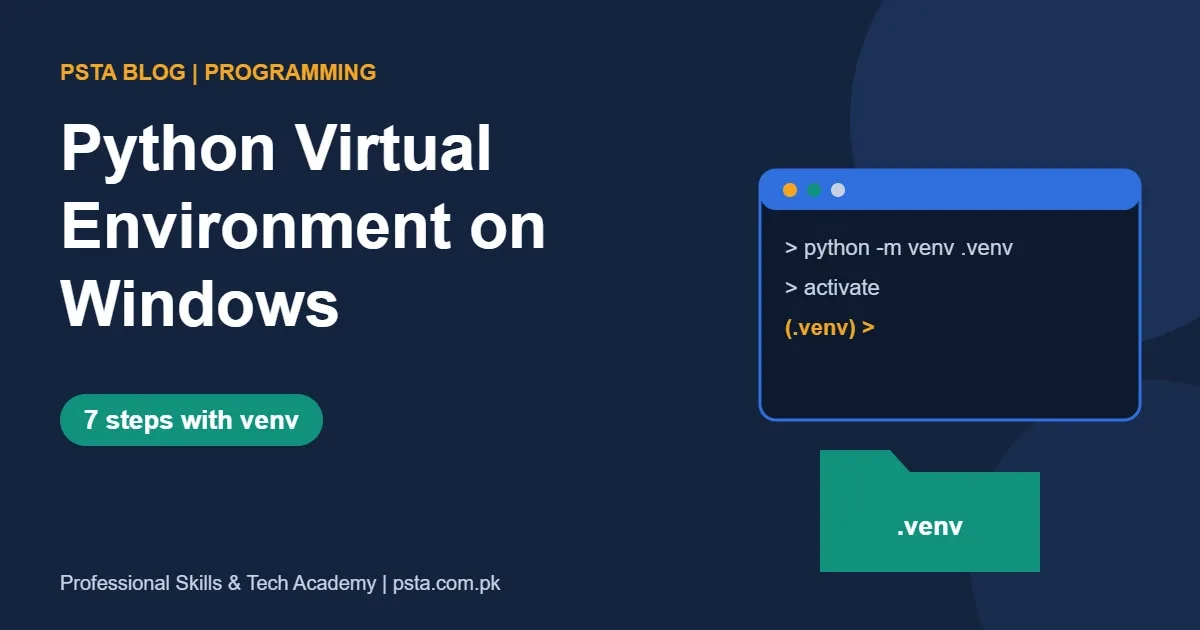
A Python virtual environment is a private folder holding one interpreter and a project's own packages. On Windows, run python -m venv .venv, activate it with .venv\Scripts\activate.bat, install packages with python -m pip, and save them with pip freeze > requirements.txt. Never copy the folder; rebuild it from the file instead.
Key takeaways
- • Create one .venv folder per project with python -m venv .venv.
- • Activate with activate.bat in Command Prompt or Activate.ps1 in PowerShell.
- • If PowerShell blocks the script, set the RemoteSigned policy for your user once.
- • Commit requirements.txt to Git, never the .venv folder itself.
- • VS Code finds a .venv folder in your workspace and can activate it in the terminal.
- • Learn venv first; try uv later if you juggle many projects.
Table of contents 13 sections
- What Is a Python Virtual Environment, in Plain Words?
- Why Do Beginners Need a Python Virtual Environment at All?
- Before You Start: Check Your Python Version
- Create a Virtual Environment in Python: 7 Steps on Windows
- How Do You Activate venv on Windows Without Errors?
- Mac and Linux Users
- Installing Packages and Using requirements.txt
- Connecting Your Environment to VS Code
- Python Virtual Environment Do's and Don'ts
- venv or uv: Which Tool Should You Use?
- A Small Practice Project to Lock It In
- Learning Python Project Setup at PSTA
- Tonight's Task: Build and Rebuild One Environment
Many beginners believe one Python install can serve every project they will ever build. That holds until two projects need different versions of the same library and one quietly breaks the other. A Python virtual environment ends that clash, and setting one up takes about two minutes.
A virtual environment is a private folder that holds one Python interpreter plus the packages a single project needs. This guide walks you through building one on Windows, step by step, with the exact commands from the official Python documentation.
By the end of this guide, you will be able to:
- Create a virtual environment in Python with the built-in venv module
- Activate venv on Windows in Command Prompt and PowerShell, including the common PowerShell error
- Install packages with pip and save them in a requirements.txt file
- Connect the environment to VS Code so the right interpreter runs your code
- Decide when plain venv is enough and when a faster tool like uv is worth trying
What Is a Python Virtual Environment, in Plain Words?
A Python virtual environment is a self-contained folder with its own Python interpreter and its own installed packages. Projects stop sharing one global pile of libraries. Each project keeps exactly the versions it was built and tested with.
The official Python tutorial gives the classic case: application A can keep version 1.0 of a library while application B uses version 2.0. Without separate environments, installing one version replaces the other.
Think of it like a separate school bag for each subject. Your physics bag never loses its calculator because you packed the art bag in a hurry.
Why Do Beginners Need a Python Virtual Environment at All?
Most beginners install everything globally with pip, and it works for a few weeks. Then a Django tutorial asks for one version, a data course asks for another, and suddenly old scripts fail with import errors nobody can explain.
Here is what a Python virtual environment fixes for a student or junior developer:
- No version clashes. Each project gets the library versions it expects.
- Clean installs for teammates. A requirements file lets anyone rebuild your setup in one command.
- Safer experiments. If something breaks, you delete the folder and rebuild it. The Python docs describe environments as disposable for exactly this reason.
- Fewer Linux surprises. On Debian 12 and Ubuntu 23.04 or later, a global pip install can stop with an "externally-managed-environment" error. That rule comes from PEP 668, and Python Speed's explainer recommends a virtual environment as the fix.
Freelance clients on Upwork and Fiverr also expect a requirements file with any Python script you deliver. It is one of the small habits that makes your work look professional.
Before You Start: Check Your Python Version
Open Command Prompt and type python --version. If you see a version number, you are ready. If Windows opens the Microsoft Store instead, install Python from python.org first and tick "Add python.exe to PATH" in the installer.
Which version should you use? According to the python.org downloads page, Python 3.15.2 (released October 25, 2026) is the latest release. The same page marks the 3.10 series as end-of-life since October 2026, so a beginner starting today should pick 3.14 or 3.15.
| Python series | Status on python.org | Support ends |
|---|---|---|
| 3.15 | Bugfix | October 2031 |
| 3.14 | Bugfix | October 2030 |
| 3.13 | Security fixes only | October 2029 |
| 3.12 | Security fixes only | October 2028 |
| 3.10 | End-of-life | Ended October 2026 |
One detail matters here: venv builds the environment from whichever Python ran the command. If you have two versions installed, the one you call decides the version inside the environment.
Create a Virtual Environment in Python: 7 Steps on Windows
The fastest way to set up a Python virtual environment is the built-in venv module, also called python venv.
Follow these steps in order for every new project. They use only tools that ship with Python, so you don't need to install anything extra.
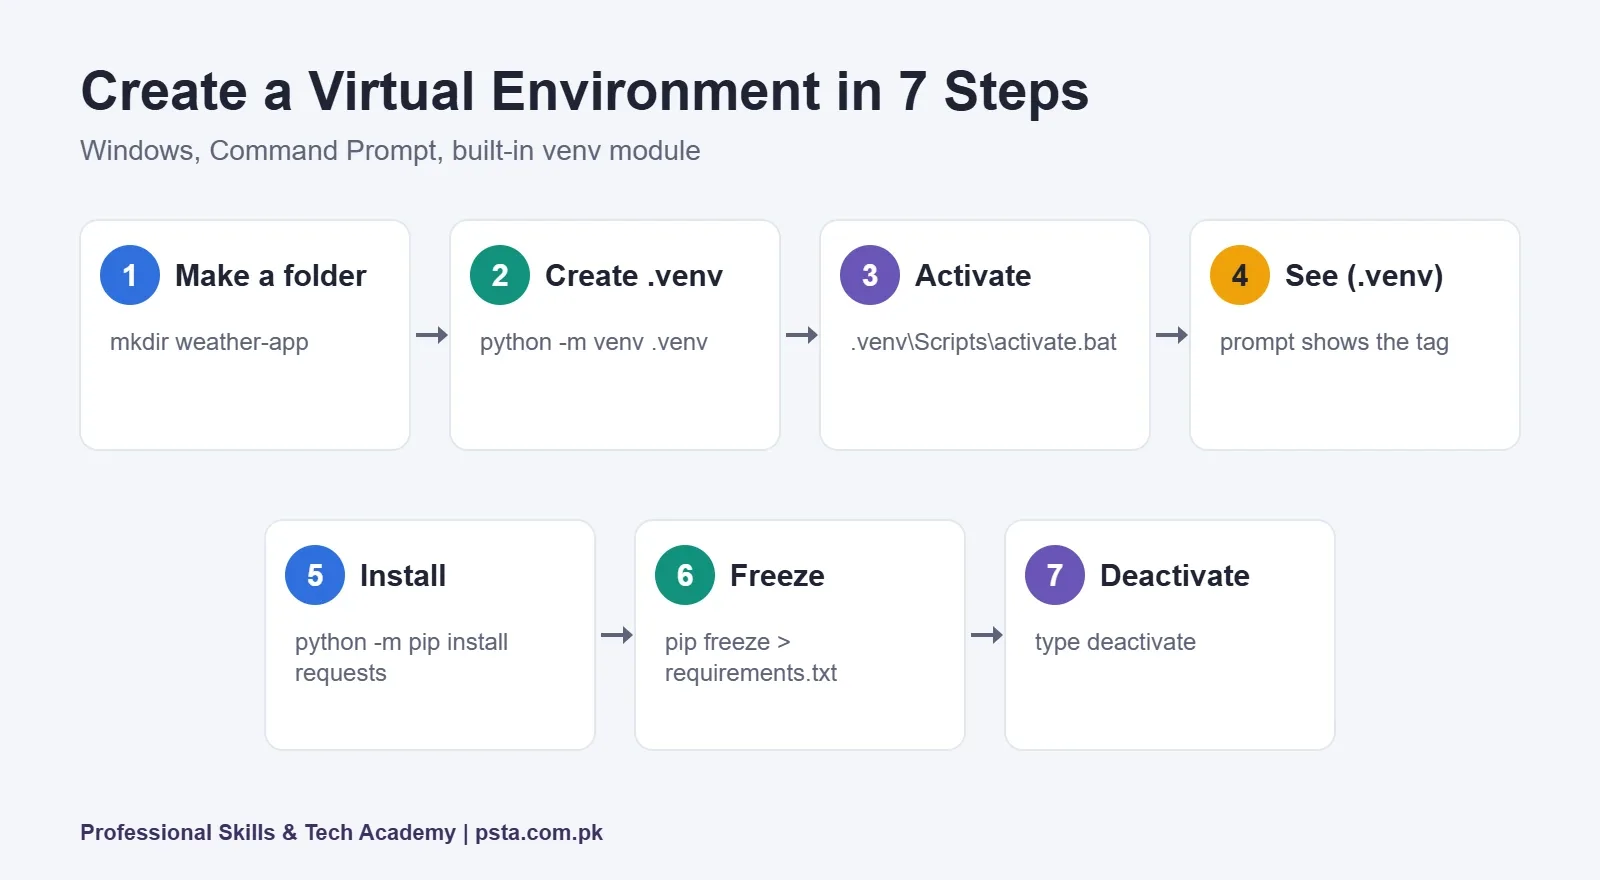
- Make a project folder. For example,
mkdir weather-appand thencd weather-app. - Create the environment. Run
python -m venv .venv. This builds a folder named .venv inside your project. - Activate it. In Command Prompt, run
.venv\Scripts\activate.bat. In PowerShell, run.venv\Scripts\Activate.ps1. - Check the prompt. You should now see
(.venv)at the start of the line. That tag tells you pip and python point inside the project. - Install what you need. For example,
python -m pip install requests. - Save your package list. Run
python -m pip freeze > requirements.txt. - Leave when you're done. Type
deactivateto return to the normal shell.
Why the name .venv? The Python tutorial recommends it because the dot hides the folder in most shells, the name explains its purpose, and it avoids clashing with the .env files many frameworks use for secret settings.
How Do You Activate venv on Windows Without Errors?
To activate venv on Windows, run .venv\Scripts\activate.bat in Command Prompt or .venv\Scripts\Activate.ps1 in PowerShell from your project folder. If PowerShell says running scripts is disabled, allow signed scripts for your user account once, then activate again.
That PowerShell message is the most common error students send us. Windows blocks unsigned scripts by default, and Activate.ps1 is a script. The venv module documentation gives this one-time fix for your own user:
Set-ExecutionPolicy -ExecutionPolicy RemoteSigned -Scope CurrentUser
The CurrentUser scope changes the setting only for your account, not the whole computer. If you'd rather not touch it, simply use Command Prompt and activate.bat, which has no such restriction.
Mac and Linux Users
The command is slightly different: source .venv/bin/activate. Everything else in this guide works the same way.
Installing Packages and Using requirements.txt
Once the Python virtual environment is active, every pip install lands inside .venv. The Python tutorial recommends calling pip through the interpreter with python -m pip, so you always use the pip that belongs to the active Python.
| Task | Command |
|---|---|
| Install the latest version | python -m pip install requests |
| Install an exact version | python -m pip install requests==2.6.0 |
| Upgrade a package | python -m pip install --upgrade requests |
| Remove a package | python -m pip uninstall requests |
| Save the package list | python -m pip freeze > requirements.txt |
| Rebuild from the list | python -m pip install -r requirements.txt |
The requirements.txt file is plain text with one package per line, like requests==2.7.0. Commit this file to Git, not the .venv folder. When a teammate clones your project, they create their own environment and run the install command to get the same versions.
If you are new to version control, our guide to Git commands for beginners covers the commit and push steps you'll pair with this file.
Connecting Your Environment to VS Code
VS Code makes a Python virtual environment easier to manage than most students expect. According to the VS Code Python environments guide, the Python extension searches your workspace for any folder named .venv and prefers it over the global interpreter.
- Pick the interpreter. Open the Command Palette (Ctrl+Shift+P) and run "Python: Select Interpreter," or click the Python version in the status bar.
- Create from inside VS Code. "Python: Create Environment" lets you choose venv, the Python version and a requirements file to install from.
- Terminal activation. By default the extension runs the activation command when you open a new terminal, so you'll see the (.venv) tag without typing anything.
If code runs fine in the terminal but VS Code shows red underlines under your imports, the editor is almost always pointing at the wrong interpreter. Select the .venv one and the warnings disappear.
Python Virtual Environment Do's and Don'ts
These habits come straight from the rules in the venv documentation and from mistakes we see in class every month.
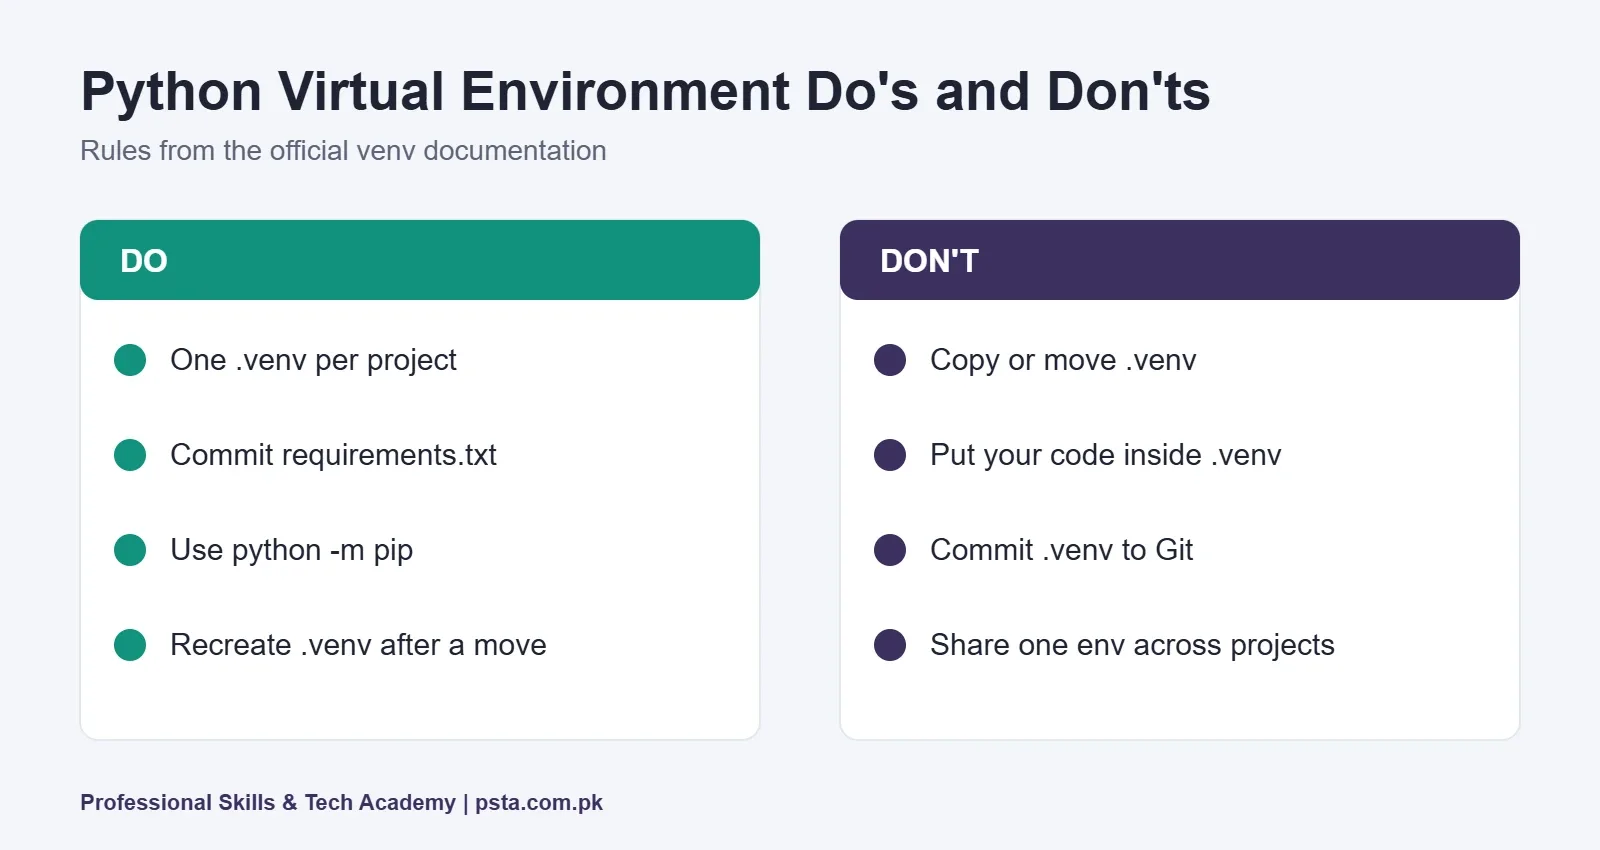
- Don't move or copy the .venv folder. The docs warn that environments are not portable because scripts inside store absolute paths. If you move the project, delete .venv and create it again.
- Don't put your own code inside .venv. Keep scripts in the project folder next to it.
- Don't commit .venv to Git. Since Python 3.13, venv creates a .gitignore file inside the environment by default, which keeps Git from tracking it.
- Do create one environment per project. Sharing one environment across projects brings back the clashes you were avoiding.
- Do upgrade pip when you create it. The
--upgrade-depsoption, added in Python 3.9, updates pip to the latest version during setup.
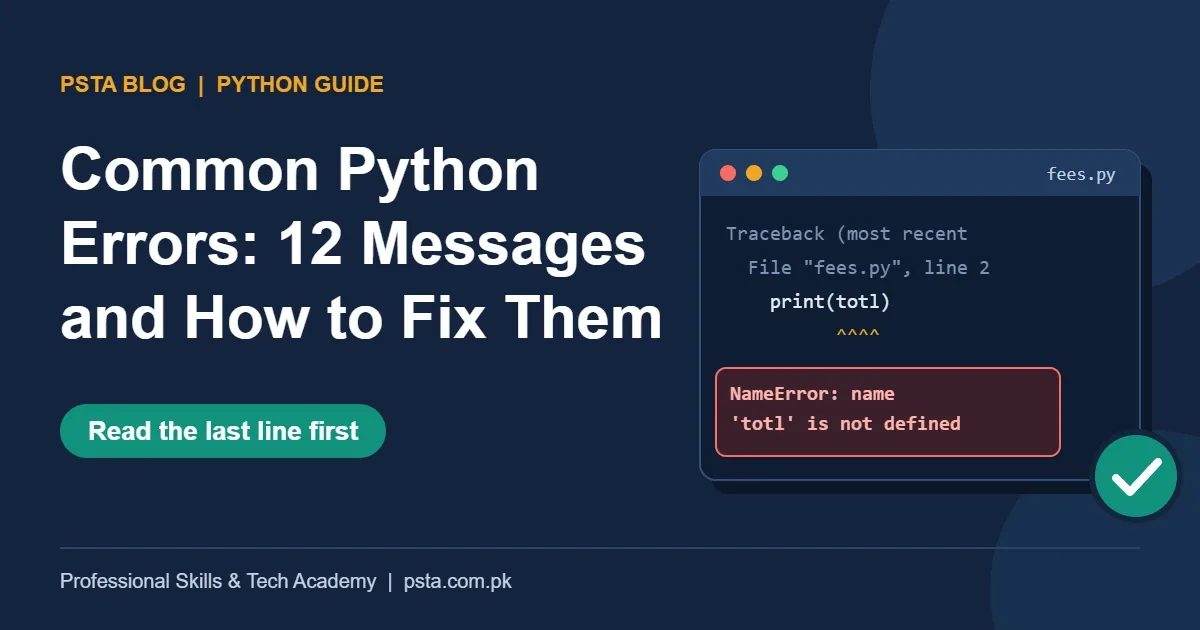
Many confusing messages beginners see, such as ModuleNotFoundError, come from installing a package in one place and running code from another. Our list of common Python errors explains how to read those tracebacks.
venv or uv: Which Tool Should You Use?
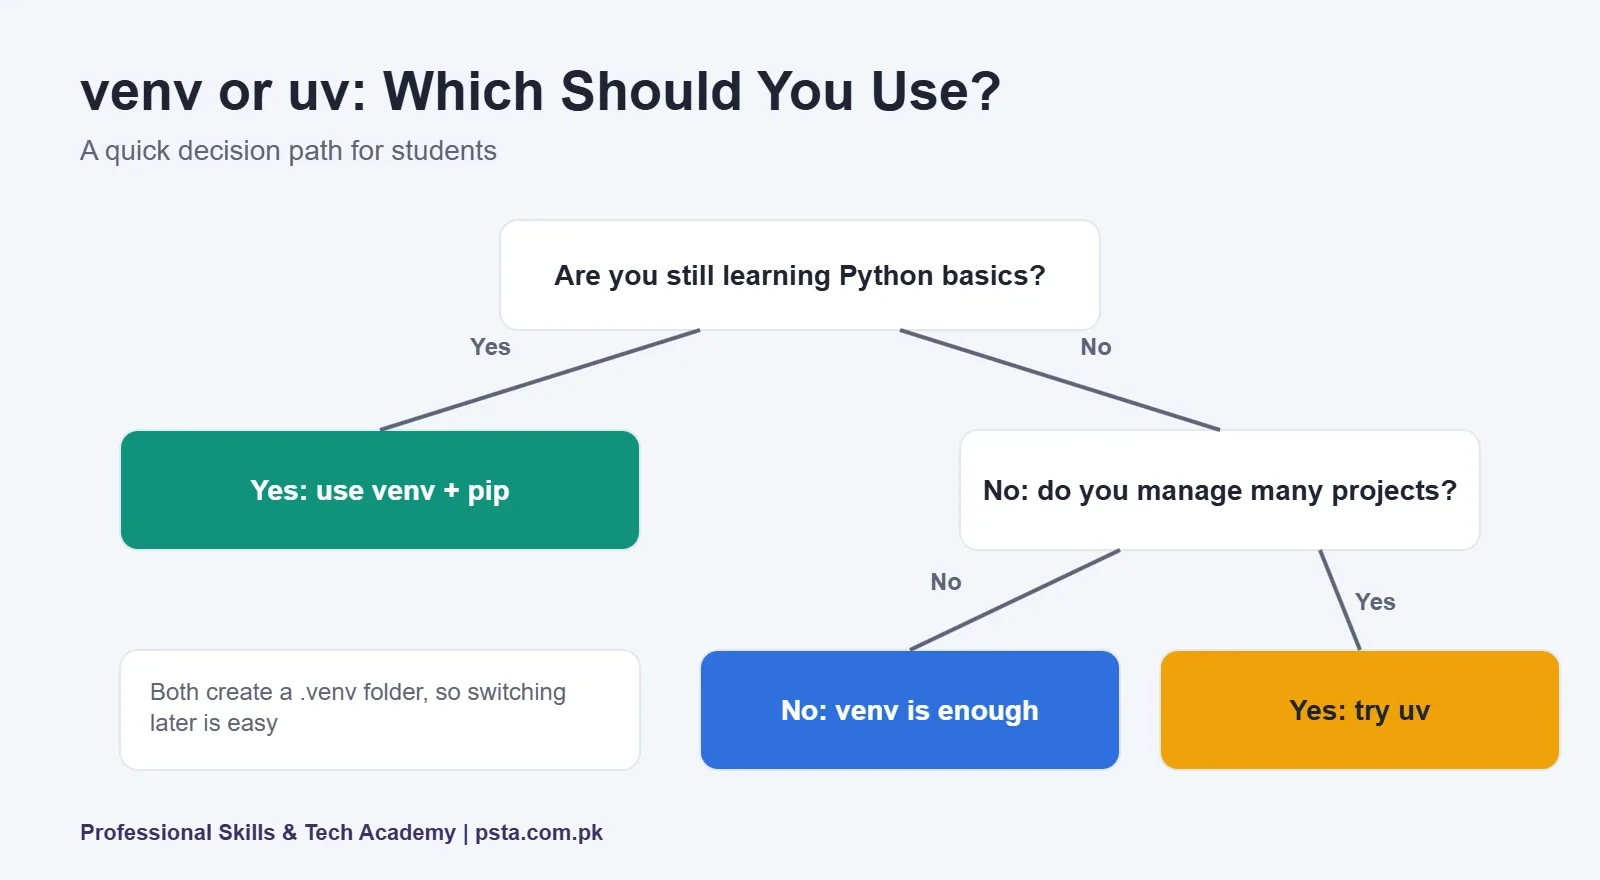
Use venv when you are learning, because it ships with Python and every tutorial assumes it. Try uv once you manage several projects and want faster installs. Both create the same kind of .venv folder, so moving between them later is easy.
uv's documentation describes it as a Python package and project manager written in Rust. It claims to be 10 to 100 times faster than pip and aims to replace pip, virtualenv, pip-tools, pipx, poetry and pyenv. uv venv creates a .venv folder, and uv add adds a dependency and builds the environment if needed.
| Question | venv + pip | uv |
|---|---|---|
| Comes with Python? | Yes | No, separate install |
| Best for | Learning, small scripts, class work | Many projects, frequent installs |
| Speed claim | Standard pip speed | 10 to 100 times faster than pip (uv docs) |
| Default folder | .venv (recommended name) | .venv |
Our advice for students: master venv first. Once the idea of an isolated environment feels natural, switching tools takes an afternoon.
A Small Practice Project to Lock It In
Reading commands is easy. Making a Python virtual environment by habit comes from repeating the steps. Try this 20-minute exercise today:
- Create a folder called
currency-checkand a .venv inside it. - Activate it and install requests.
- Write a short script that downloads any public JSON page and prints one value.
- Freeze the packages to requirements.txt.
- Delete the .venv folder completely.
- Recreate it, install from requirements.txt and run the script again.
If step 6 works without errors, you understand the full cycle that professional teams use. Repeat it with a Flask app next; our Django vs Flask comparison helps you pick a framework for that.
Learning Python Project Setup at PSTA
Setting up a Python virtual environment properly is part of the first module of PSTA's Advanced Python Programming Course, and you'll use it in every project after that. The course page lists these details:
- Duration: 12 weeks, from beginner to job-ready, with no prior coding required
- Modes: on campus in Abbottabad, live online across Pakistan, or hybrid, with a new batch every month
- Fee: Rs. 30,000, down from the regular Rs. 40,000, paid in two installments
- Modules: core Python, OOP, file handling, automation, Flask and Django, Pandas, NumPy, Matplotlib and Scikit-learn
- Projects: command-line tools, an automation script, a Flask or Django web app, a data report and a final portfolio project
Students who want to automate office and business tasks can continue with the AI Automation course after this. For full websites, see the Full-Stack Web Development course, or browse every option on the courses page.
Tonight's Task: Build and Rebuild One Environment
Open a terminal, create a Python virtual environment in a fresh folder, install one package, freeze it, delete the folder and rebuild it. That single loop teaches more than an hour of reading. When you want guided practice with a trainer checking your setup, you can apply for the next Python batch or send a question to PSTA on WhatsApp at +92 314 5424399.
Frequently asked questions
What is a Python virtual environment used for?
A Python virtual environment keeps one project's packages separate from every other project on your computer. That way, a library version needed by an old assignment never breaks a new app. It also makes your project easy to share, because a requirements.txt file lets anyone rebuild the same setup with a single install command.
Do I need to activate the virtual environment every time?
Yes, in a plain terminal you activate it each time you open a new window, because activation only changes the current shell session. VS Code can do this for you: its Python extension runs the activation command automatically when you open a new terminal inside a workspace that has a selected .venv interpreter.
Why does PowerShell say running scripts is disabled?
Windows blocks unsigned PowerShell scripts by default, and Activate.ps1 is a script. The official venv documentation suggests running Set-ExecutionPolicy -ExecutionPolicy RemoteSigned -Scope CurrentUser once. That changes the policy only for your own account. Alternatively, use Command Prompt and activate.bat, which does not need any policy change.
Should I upload the .venv folder to GitHub?
No. The venv documentation says environments should not be checked into source control and are not portable, because files inside store absolute paths. Upload requirements.txt instead. Since Python 3.13, venv adds a .gitignore file inside the environment by default, so Git ignores the folder automatically.
Can I move my project folder after creating a venv?
You can move the project, but not the environment inside it. The scripts in .venv contain absolute paths to the original location, so they break after a move. Delete the .venv folder, create a new one in the new location and reinstall packages with python -m pip install -r requirements.txt.
Is uv better than venv for beginners?
uv is faster and handles more tasks, and its documentation claims installs 10 to 100 times faster than pip. For a beginner, though, venv is the better starting point because it ships with Python and almost every tutorial uses it. Both create a .venv folder, so switching to uv later is simple.
Which Python version should I use for a new virtual environment?
Pick a supported release. On python.org, the 3.15 and 3.14 series currently get bugfix updates, while the 3.10 series reached end-of-life in October 2026. venv builds the environment from whichever Python runs the command, so call the version you want explicitly if several are installed.
Sources & references
- Python Tutorial: Virtual Environments and Packages docs.python.org
- Python Docs: venv module docs.python.org
- Python.org Downloads python.org
- VS Code: Python Environments code.visualstudio.com
- uv Documentation (Astral) docs.astral.sh
- Python Speed: Externally Managed Environments and PEP 668 pythonspeed.com
Last reviewed & updated on by Umar Qureshi. Written by the PSTA team in Abbottabad, Pakistan.

Umar Qureshi

Advanced Python Programming Course in Pakistan – Online Classes and On-Campus in Abbottabad
Turn this guide into a career: hands-on training with real projects, online across Pakistan or on-campus in Abbottabad · 12 weeks.
Comments
No comments yet — ask a question or share your experience.